Showing posts with label sweet. Show all posts

Saturday, April 6, 2013

Millionaire's Shortbread


I just returned from a freezing spring break trip to London. While I was not expecting to return from the UK with a tan, I was also not expecting it to snow twice or for all my pictures to be of my eyes peeking out over my thick knitted scarf. Thankfully we were able to stay warm ducking in and out of cafes and the free museums. Because I spent a large portion of my time in London warming my hands on a steaming mug of hot chocolate, I got very familiar with the traditional tea time snacks. Out of all the biscuits, scones, hot cross buns, and pastries I sampled, my favorite by far was the millionaire's shortbread! 

To me, shortbread cookies are delicious as they are. I love the crunch and crumble of shortbread and the slightly sweet, browned butter flavor. But the brilliant Brits have improved upon this simple treat by layering shortbread with caramel and chocolate. These delectable squares are the great grandparents of the Twix candy bar. If you like Twix, you'll love this recipe!


Preheat your oven to 350 degrees Fahrenheit. Butter and flour an 8x8 square pan. Cut the cold stick of butter into cubes.


In a food processor, pulse the flour, sugar, and salt. Add the cubes of butter and pulse until the butter is size of peas. Press the shortbread dough into the prepared 8x8 pan.


Bake 20 minutes, until the shortbread is golden brown around the edges. (this is a tad more brown than you want it! No one's perfect.) Set aside and let cool completely. 


Heat the remaining 2 Tbsp butter and sweetened condensed milk in a saucepan over medium-low heat. Bring to a boil, stirring constantly. Continue to boil for 15 minutes, until the mixture is thick and caramel colored. 


Pour the caramel over the cooled shortbread. Allow to cool completely. I let mine cool in the fridge while I made the top chocolate layer.


Using a double boiler, melt the chocolate, whisking until smooth. Pour over the caramel covered shortbread and let cool at room temperature for 10 minutes. Chill in the fridge until cooled completely.


Do you see those beautiful layers? Crunchy shortbread, sweet caramel, and bitter, smooth chocolate have never looked so good! Cut the shortbread into squares while it is cold. These squares are delicious kept cold in the fridge or softened up a little to room temperature.

Millionaire's Shortbread

recipe by Claire Robinson

Ingredients:
 
1 stick + 1 Tbsp unsalted butter, cold, divided
1 cups flour
1/3 cup sugar
1/4 tsp salt
14-ounce cans sweetened condensed milk
 6 ounces semi sweet chocolate

Directions:

Preheat the oven to 350 degrees Fahrenheit. Butter and flour an 8 x 8 square pan. 

Cut the cold stick of butter into small cubes. In a food processor, combine the flour, sugar, and salt. Pulse to combine. Add the cubes of butter and pulse until the butter is the size of peas. Press the shortbread dough into the prepared square pan. Bake 20 minutes until golden brown around the edges. Let cool completely.

In a saucepan on medium-low heat, combine the remaining 2 Tbsp unsalted butter and sweetened condensed milk. Bring the mixture to a boil, whisking continuously. Continue to boil for 15 minutes, until the mixture is caramel colored and thick. Pour over the cooled shortbread and place in the refrigerator to cool completely. 

Using a double boiler, melt the chocolate, whisking until smooth. Pour over the cooled caramel covered shortbread and let cool at room temperature for 10 minutes. Chill in the refrigerator until completely cool. Cut the shortbread into squares while cold.
 

Saturday, March 9, 2013

Pumpkin Chocolate Chip Cookies

My official job title in Spain is a Language and Culture Assistant or auxiliar de conversación. I have the best job in the world; earning a living experiencing the Spanish languages and culture. It sounds almost too good to be true, but this is a real job that you can learn more about here. In return for this amazing opportunity, I am expected to share my language and culture with the students and teachers at my school, facilitating an international exchange of ideas. However, thanks to globalization, most aspects of the American culture have already made it overseas. There are few things I share about my home that most Spaniards I meet aren't vaguely familiar with already. This is not the case for food. I'm sad to report that the general opinion of American food is based on McDonald's and KFC menus. I'm not going to launch an anit-fast food campaign over here because it is a big part of American culture and I'd be committing an enormous act of hypocrisy. I think McDonald's french fries are one of the most addicting foods on the planet and Taco Bell Crunchwraps are a work of culinary genius.  

I mentioned in my homemade pumpkin puree post that I take classic American baked goods to school to share with my coworkers and students. This is my way of showing them that we have SO much more to offer than hamburgers and delivery pizzas. It should come as no surprise that my favorite way to experience a foreign culture is through its cuisine, but I get so much more pleasure from telling people about my home through the foods I grew up with and love. With these cookies, I was able to share the traditions of autumn in America, from the holidays, to the pumpkin patches, corn mazes, and hot apple cider! I'm well aware that fall has come and gone, but who doesn't want a cakey, moist reminder of falling leaves and crisp air during the months of dreary, cold winter weather?


Preheat your oven to 350 degrees Fahrenheit. Line a sheet pan with a Silpat or parchment paper. In a stand mixer fitted with a paddle attachment, cream the butter and sugars. Add the egg, vanilla, and pumpkin and beat until combined. In a separate bowl, whisk the flour, baking powder, baking soda, salt, cinnamon, and nutmeg. Slowly mix into the cookie batter until just combined. Fold in the chocolate chips.


Using a cookie scoop or teaspoon, drop the cookies onto the prepared cookie sheet and bake for 10-12 minutes until puffed up and lightly browned. Let cool on a wire rack. Enjoy!


Pumpkin Chocolate Chip Cookies

recipe adapted from Allrecipes.com

Ingredients: 
   
1/2 cup unsalted butter, room temperature
3/4 cup sugar
3/4 cup brown sugar
1 egg
1 1/2 cups pumpkin puree
1 tsp vanilla
2 1/2 cups flour
1 tsp baking powder
1 tsp baking soda
1 tsp salt
1 tsp nutmeg
1 tsp cinnamon
2 cups semisweet chocolate chips

Directions:

Preheat your oven to 350 degrees Fahrenheit. In a stand mixer fitted with a paddle attachment, cream the butter and sugars for 2-3 minutes until light and fluffy. Beat in the egg and scrape the sides of the bowl with a rubber spatula. Beat in the pumpkin puree and vanilla.

In a separate bowl, whisk the flour, baking powder, baking soda, salt, nutmeg, and cinnamon. With the stand mixer on low speed, slowly add the dry ingredients, mixing until just combined. Fold in the chocolate chips.

Drop the batter onto a Silpat lined cookie sheet using a cookie scoop or a tablespoon. Bake in the preheated oven for 10-12 minutes depending on the size of your cookies.

Thursday, March 7, 2013

Pumpkin Puree

Spanish food is very bland. I love it, but there is little flavor variation as Spaniards pride themselves on using very few spices in their cooking. I don't mind the simplicity in the savory dishes, but I have to report that Spanish baked goods are boring. Spaniards eat cakes with less flavor than a store-bought Sara Lee pound cake and exclaim "¡Què rico!" In an effort to convert some Spaniards to the worshiping of desserts with flavor, I've been baking some old-fashioned favorites and taking them to school for my colleagues. I have kept the flavors simple so as not to shock their palates; coffee cake, homemade pound cake, and most recently pumpkin chocolate chip cookies. So far, my attempts of exposing the teachers at my school to flavorful desserts has been a success. In exchange, they’ve persuaded me to open my stomach to stingray, octopus tentacles, and even tripe!

To make the pumpkin cookies, I had to make my own pumpkin puree. America is the land of good and plenty of canned pumpkin. In Spain, you cannot simply go to the grocery store to buy canned pumpkin. Even in October and November, when American supermarkets are bursting with this and other flavorful squash varieties, both canned and fresh pumpkins are absent from Spanish grocery store shelves. If you ask for a pumpkin, you'll likely be pointed in the direction of a butternut squash. (Delicious, great for making soup, but not a pumpkin.) In late October, I finally found a small sugar pumpkin at a fruit stand and when I informed the shopkeeper I planned to bake it and make it into a pie rather than carve it into a jack-o-lantern, she gave me the "Oh, you're foreign," look I've become very accustomed to. I had some leftover puree that’s been patiently waiting in my freezer, until now.  

To make your own puree, plan on an hour inactive prep time while the pumpkin bakes and no more than 30 minutes of blending and straining the puree.Straining is a very important step, especially if using to make a pumpkin pie. Baked pumpkin has a stringy texture and straining ensures a smooth final product.

Preheat the oven to 325 degrees Fahrenheit. Line a baking sheet with tin foil. Cut your pumpkin in half and scrape out the pulp and the seeds. Place the two halves skin side up on the baking sheet and roast for 45 minutes to an hour until the flesh is very tender. Remove from the oven and let cool.


Scrape the cooled pumpkin flesh out of the skin. In a blender or with an immersion blender, puree the flesh until smooth. If you're not up to dirtying more kitchen equipment, mashing the pumpkin flesh with a fork will work just fine, though it will take longer. Pour the puree through a strainer to get rid of any remaining stringy pieces. 


Now it's ready to add incredible flavor to a pumpkin chorizo pizza or a batch of pumpkin chocolate chip cookies! If not using it immediately, your homemade pumpkin puree will keep for one week in the fridge or up to one year in the freezer. Freeze it in Ziploc bags for easy storage.

Sunday, February 24, 2013

Cheesecake Bars

School birthdays were always something I looked forward to as a kid. Each year I would assume the role of Birthday Queen For the Day, taking homemade cupcakes to my class, bestowing these mom-made culinary jewels upon my loving classmate subjects. Perhaps I took myself a little too seriously! Over the years, my mom has made countless batches of ice cream cone cupcakes topped with Betty Crocker Rainbow Chip frosting. Although she is perfectly capable of whipping up fabulous frostings from scratch, often making up the recipe as she goes, I would beg her to buy this frosting. There's nothing like it. To this day, it is my kryptonite and nothing, NOTHING, can stop me from eating it straight out of the container by the spoonful. For this reason, not my prepackaged food snobbery, I do not buy this frosting more than once a year. I like to fit comfortably into my jeans...

I have a few precious months remaining in my English teaching position in Spain. I teach at a very small elementary school, so when a child has a birthday, the whole school celebrates! The kids bring cakes, soda, chips, cookies, and candy to share with their classmates, the other students, and, luckily for me, the entire teaching staff. Last week, I walked into the teachers lounge to find a "birthday cake" sitting on the table. I use the quotation marks here because birthday cakes in Spain are nothing like the ones I grew up with in the states. Cakes here resemble pound cakes, are only slightly sweet, and are served sans frosting. A teacher told me this particular cake was a cheesecake. He went so far as to say it was a "New York" cheesecake. Well, it wasn't. Not even close. It was a New York cheesecake if you were to add gelatin and remove half the sugar and cream cheese. All this "cheesecake" did was make me miss cheesecake!


Where does one indulge a cheesecake craving in Spain? Nowhere. There is a tapas bar in my town that serves a cheesecake flan. It's tangy and smooth like a cheesecake, but the first bite reveals a pool of deeply sweet caramel syrup typical of a flan. It really is the best of both worlds! However, my craving was so acute, even this delicacy wouldn't satisfy. If I wanted a cheesecake, I'd have to provide for myself. After a quick trip to the store and a raid of a better stocked kitchen than mine for a 9x13 pan, I was ready to whip up a quick and easy ode to the classic American cheesecake. No stand mixer, springform pan, water bath, or hour-long cooking time needed!

I made these cheesecake bars for the first time for a catering event a few years ago. I needed a dessert that could feed a lot of people and could be made ahead of time. I ended up baking several sheet pans of these bars and refrigerating them overnight. They were a hit at the party; easy to slice and, when cut into little squares, easy to eat. Since then, I've baked smaller batches for potlucks or for my own personal enjoyment. Sometimes I share... 

**Note: Allow your cream cheese and eggs to come to room temperature before starting the bars**


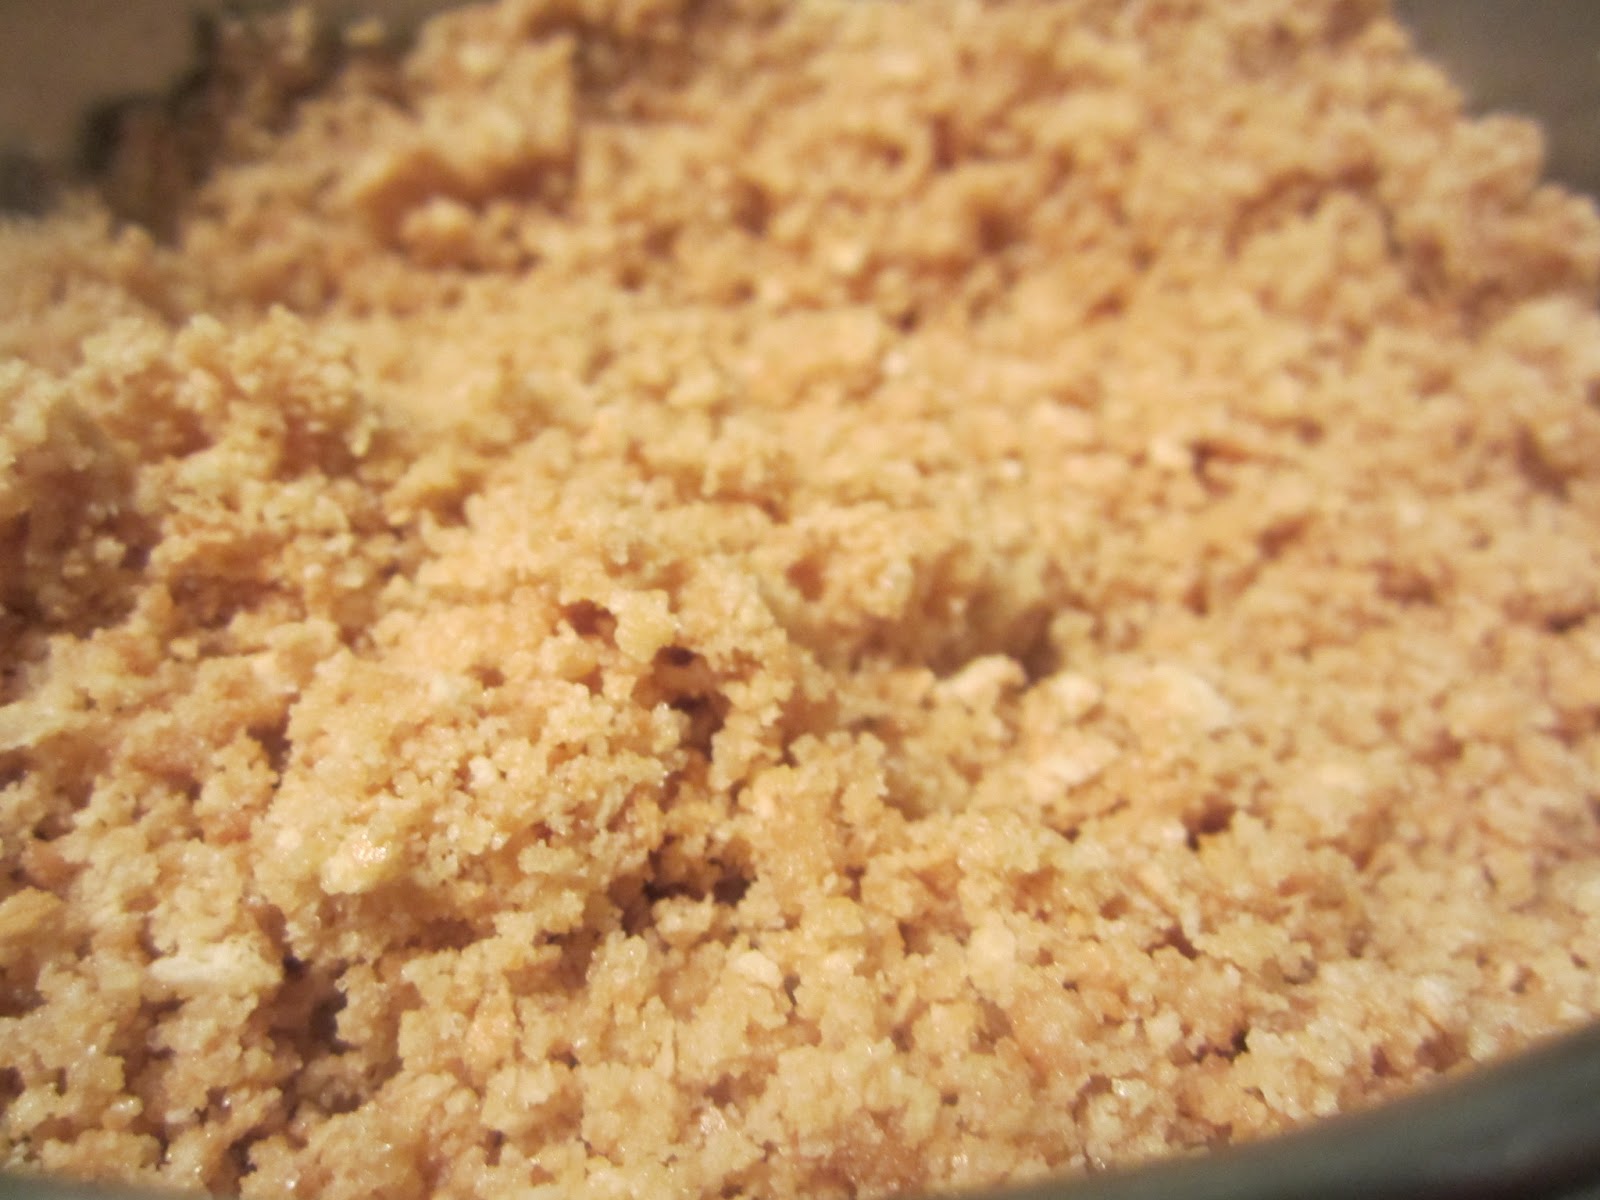
Preheat your oven to 350 degrees Fahrenheit. Spray a 9x13 inch pan with cooking spray. If you want to have perfectly cut cheesecake squares, prepare the baking pan as shown by my tutorial here. In a medium mixing bowl combine the graham cracker crumbs, sugar, and salt. Pour in the melted butter and stir to moisten the crumbs. Press into the bottom and 1 inch up the sides of your prepared baking pan and bake for 10 minutes, until the crumbs are lightly browned. Set aside to cool while you prepare the filling.


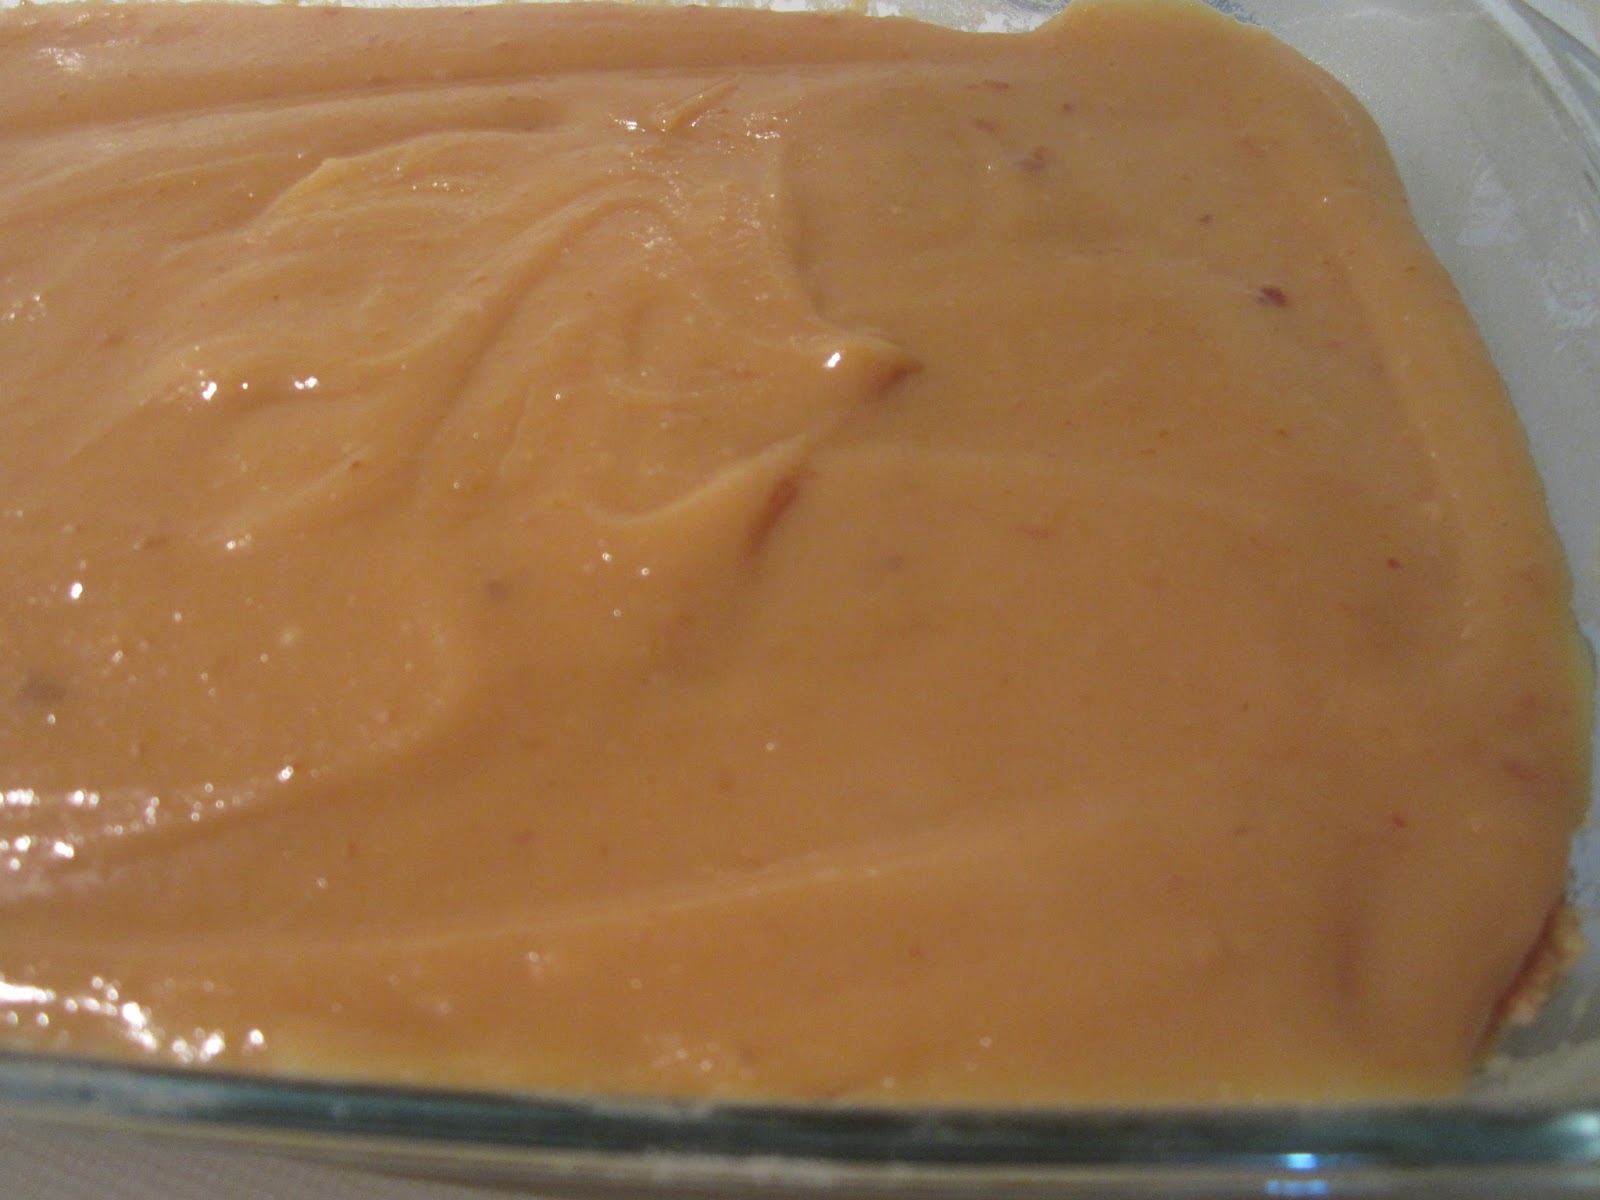
Increase the oven temperature to 350 degrees Fahrenheit. In a medium mixing bowl, whisk the cream cheese until smooth. Add the sugar, salt, lemon juice, lemon zest, and vanilla and whisk to combine. Add the eggs one at a time, scraping down the bowl after each addition. Pour the batter over the cooled graham cracker crust.


Bake for 18-20 minutes or until the cheesecake is just set. If you're unsure, insert a knife into the center of the cheesecake. It should come out clean. Allow to cool completely at room temperature, then cover and refrigerate for 2 hours or overnight. This will allow the cheesecake to set completely and facilitate easy cutting.


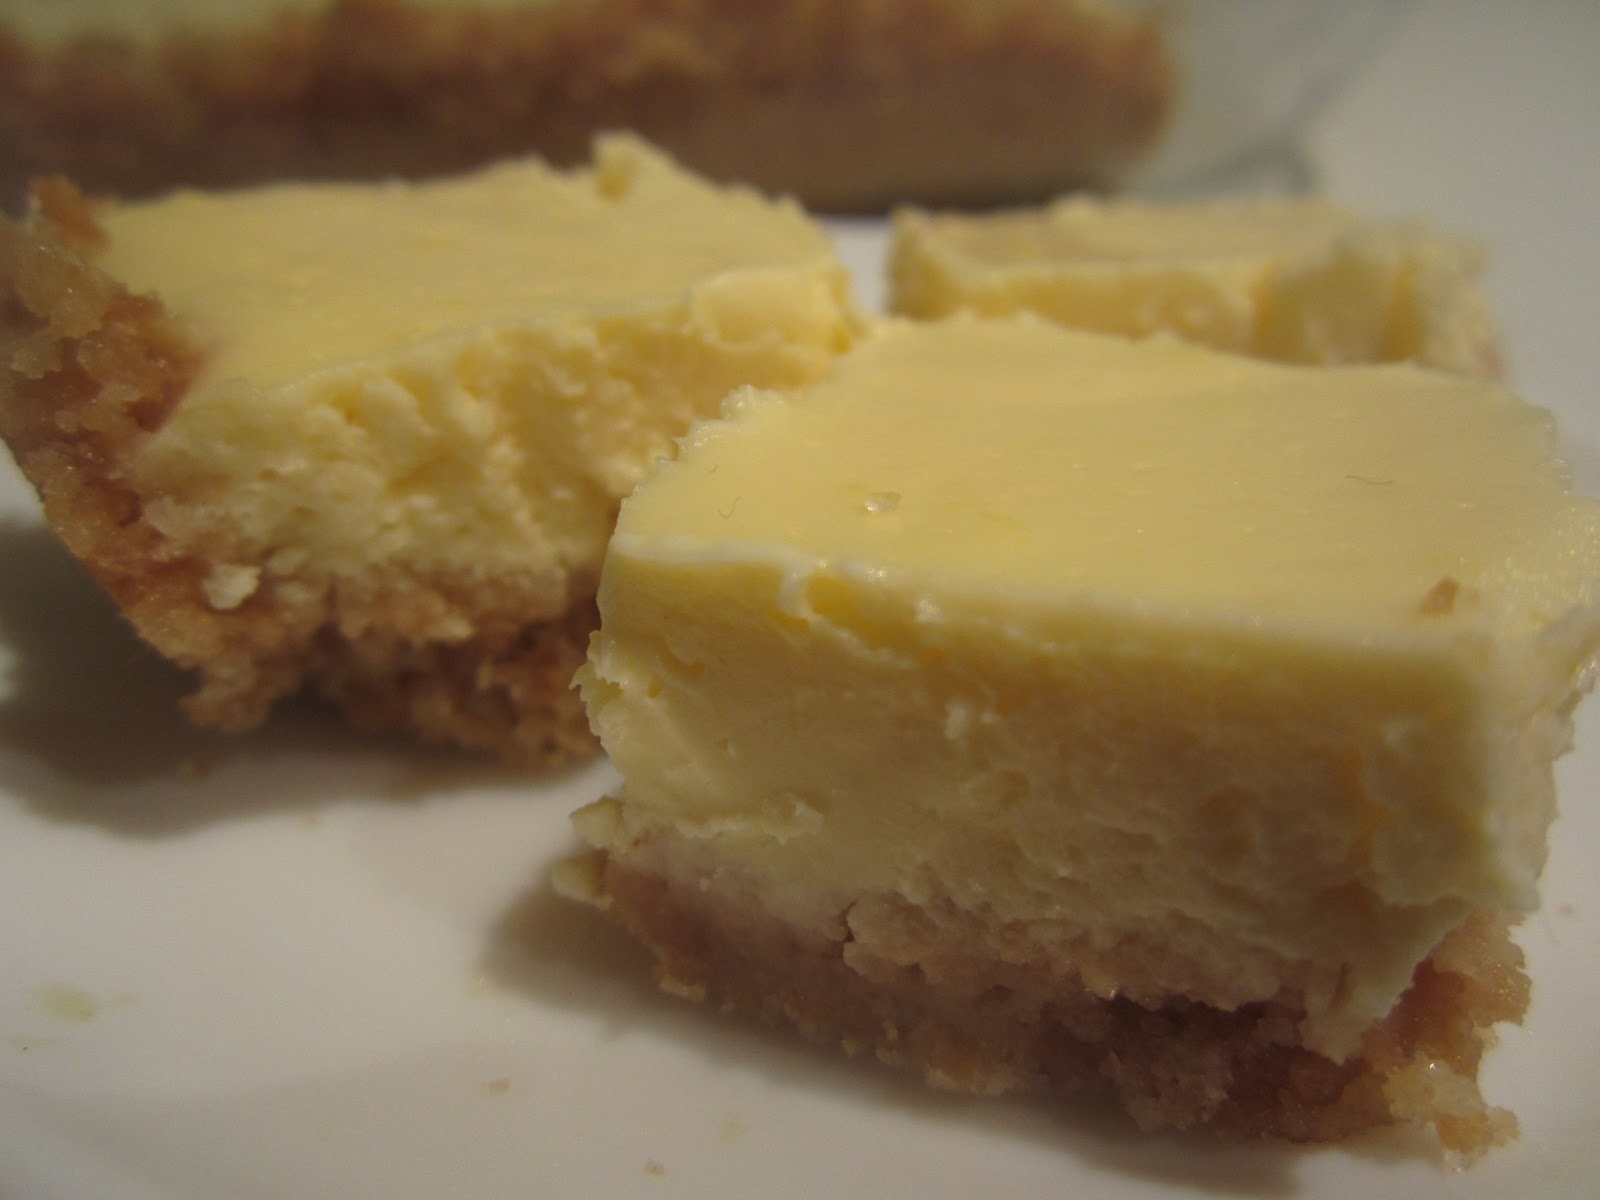
Just before serving, remove the cheesecake from the fridge and, if using the parchment paper and tin foil preparation method here, lift the chilled cheesecake from the pan. Cut into squares, wiping the knife clean after each cut. Enjoy your little taste of the classic American cheesecake!

Cheesecake Bars

recipe adapted from joyofbaking,com

Ingredients: 

Crust:
2 cups graham cracker crumbs, about 13 crackers
2 Tbsp granulated sugar
1/4 tsp salt
1/2 cup unsalted butter, melted 

Filling:
2 8oz packages cream cheese, room temperature
1/2 cup granulated sugar
1/4 tsp salt
1 Tbsp lemon juice
1 lemon, zested
1 tsp vanilla
2 eggs, room temperature

Directions:

Preheat your oven to 325 degrees Fahrenheit. Spray a 9x13 in baking dish with cooking spray or line with parchment paper as shown here

In a medium mixing bowl, combine the graham cracker crumbs, sugar, and salt. Pour in the melted butter, stirring to moisten the crumbs. Press the crumb mixture on the bottom and 1 inch up the sides of the prepared baking dish. Bake in the preheated oven for 10 minutes, until the crust is lightly browned. Set aside to cool.

Increase the oven temperature to 350 degrees Fahrenheit. In a medium mixing bowl, whisk the cream cheese until smooth. Add the sugar, salt, lemon juice, lemon zest, and vanilla and whisk to combine. Add the eggs, one at a time, scraping down the bowl after each addition, Pour the cheesecake filling over the cooled crust. Bake for 18-20 minutes, until the cheesecake is just set, wobbling slightly when touched.

Allow to cool completely at room temperature, cover, and refrigerate for at least two hours or overnight. Cut into bars just before serving, wiping the knife clean after each slice. Top with berries, chocolate syrup, or whipped cream.

Tuesday, February 5, 2013

How To: Prepare a Brownie Pan

I included this tutorial for preparing an 8X8 brownie pan in my Mini Cadbury Egg Blondies post, but this tip is so useful I think it deserves its own post. You can use this method for blondies, brownies, and bar cookies. It adds a little more time to your recipe preparation, but I promise it's worth the extra step. No more slicing through brownies while holding your knife at an awkward angle. No wasted, crumbled pieces because the first few brownies are impossible to get out of the pan in one piece! Simply line, lift, slice, and serve.

**You may read this and think, "What a waste of tin foil!" Feel free to reuse the foil more than once. I would not, however reuse the parchment paper. This tip works best on 8X8 pans, but will work well for a 9X9 as well. Any larger and you risk crumbling when lifting out of the pan.** 


Cut an 8x8 square of parchment paper. You can measure using a ruler or simply trace the bottom of your baking dish.


Spray the dish with cooking spray. Lay two long strips of aluminum foil in the pan, forming an X. I tear a long sheet of aluminum foil, cut it in half, then fold each half into thirds. This forms two reinforced strips. Leave a few inches of foil hanging off the sides to create "handles."


Lay the 8x8 parchment paper square over the foil. Spray the parchment with cooking spray. This parchment/foil apparatus will allow you to lift the entire batch of blondies, brownies, or bar cookies out of the pan (after they are baked and cooled), making it very easy to cut them into neat, even squares.


When cool, use the aluminum foil "handles" to lift blondies, bar cookies, or brownies out of the pan.


Transfer to a cutting board to slice...and sample:)

Thursday, December 13, 2012

Peanut Butter Cup Cake

This is NOT a cupcake. I wrestled with the title of this post, because this cake needs to bear the name of my absolute favorite food in the world - the Reeses Peanut Butter Cup. This is a peanut butter cup...wait for it...cake. Not a peanut butter cupcake. Now, onto the recipe!

When dreaming up this cake, I wanted to use my favorite Cocoa Frosting and stay true to a peanut butter cup: luscious peanut butter coated with creamy chocolate. Thus, this variation on basic yellow cake was born, Peanut Butter Layer Cake. Naturally, I had to add peanut butter cup pieces to the cake as well. When I tried the cake the first time, there just was not enough peanut butter flavor to compliment the chocolate frosting. How did I fix this? I added more frosting! Is there such a thing as too much frosting? My Peanut Butter Cream Frosting brings all the flavors in the cake together in the perfect balance of peanut butter and chocolate, inspired by the masterfully crafted Reeses Peanut Butter Cup! I´ve said this before and will say it again- HOW can they not sell these in Europe?


After the Peanut Butter Layer Cake has cooled completely, place one layer on a cake plate or stand. Spread with a generous layer of Cocoa Frosting.


Roughly chop a dozen mini peanut butter cups.


Scatter the pieces on top of the frosted cake layer.


Top with the second cake layer and frost with remaining Cocoa Frosting. Dump the frosting on top of the cake, then gradually work your way outward, smoothing the frosting toward the edges and down the sides of the cake with an uneven spatula.
 

If you want a polished final product, dip the spatula in hot water and run along the sides of the cake to smooth the frosting. This step is purely aesthetic. The cake will taste the same either way!
 

Chop a few more peanut butter cups and scatter on top of the frosted cake. 


Prepare a piping bag (or resealable plastic bag with a corner cut off) and fill with the Peanut Butter Cream Frosting


Pipe the frosting as desired on the top and around the base of the cake. Piping frosting around the base of a cake is a great way to hide mistakes and little imperfections at the base of a cake. The professionals do it too!


Cut into the cake and share Reeses peanut butter chocolate perfection with your family and friends!

Wednesday, December 5, 2012

Peanut Butter Cream Frosting

I have discovered something truly shocking during my time abroad. Spaniards think peanut butter is gross! It seems they more than dislike it. I know I'm making a generalization here as I have not met the entire country, but on a few instances I have gotten this impression. I was presenting to the 5th grade class about food in America and was explaining how we are all raised on peanut butter and jelly sandwiches. They asked what the PB&J stands for and when I told them peanut butter, crema de cacahuete, they wrinkled their noses in disgust! Another time I generously offered a Reese's peanut butter cup to a friend and he declined because of the peanut butter. This is one cultural difference I can not understand. 

No matter where in the world I'm living, I will always regard peanut butter as the king of spreads. For me, it reigns over Nutella, Biscoff, cream cheese, and jelly. This frosting pairs perfectly with the Cocoa Frosting and Peanut Butter Layer Cake to make the fabulous, 100% American, Peanut Butter Cup Cake that I will post later next week. Stay tuned and enjoy this recipe in the meantime.


 To make this very quick frosting, make sure all of your ingredients are at room temperature.


In a stand mixer fitted with a paddle attachment, beat the butter and peanut butter until smooth and fluffy, 2 minutes. Beat in the vanilla. With the mixer on low speed, gradually add powdered sugar. Add the buttermilk 1 Tbsp at a time until desired, spreadable consistency. Beat on high speed for 2-3 minutes. 


Frost cupcakes, spread on graham crackers, or put in a piping bag to create the Peanut Butter Cup Cake! To frost an entire cake, double or triple this recipe.

Peanut Butter Cream Frosting

Recipe by Sweet & Savory

Ingredients:
 
1/3 cup unsalted butter, room temperature
1/3 cup smooth peanut butter
1 tsp vanilla
1 cup + 2 Tbsp powdered sugar
2 Tbsp buttermilk

Directions:

In a stand mixer fitted with a paddle attachment, beat the butter and peanut butter together on high speed until smooth, 2 minutes. Beat in the vanilla. Gradually add the powdered sugar, beating on low speed after each addition until combined. Add the buttermilk 1 Tbsp at a time until the mixture reaches frosting consistency. Beat the frosting for 2-3 minutes on high speed.

Friday, November 30, 2012

Feliz Thanksgiving: 8 kilograms, Mini Ovens, & Contraband Soup

This year, I am working as an English language assistant in a public school in northern Spain. In October I left my quiet, happy life in Utah to live in a country with a different currency, measuring system, and language, 5,000 miles away from everyone I know and love. The first few weeks were a little rough with the eight hour time difference, finding an apartment, and separation anxiety from my car, but now that I am two months into my stay, I'm having the time of my life! I'm improving my Spanish, meeting new people, traveling through Europe, working with the best kids and teachers, and trying the most amazing food!

While I'm willing and excited to dive head first into Spanish culture, I'm reluctant to let go of all my Americana, including putting my napkin in my lap, my favorite TV shows (Gossip Girl, New Girl, 30 Rock, Happy Endings), and my favorite holiday, Thanksgiving! I mentioned in my Mexican Hot Chocolate Pie post that Thanksgiving is my favorite because of the menu planning, grocery shopping, hours in the kitchen, and sharing food with my loved ones. This was not my first Thanksgiving away from home, but it was definitely the first spent on a different continent. Did that drive me to deny myself a day of feasting and food comas? Never. Together with my fabulous roommates and the other language assistants in Ourense, we created a traditional Thanksgiving spread, drawing on our creativity, resourcefulness, and breaking a few airport security rules to acquire the necessary ingredients!


I'm exaggerating on the airport security rules. The green bean casserole cook bought the hard-to-find Campbell's Cream of Mushroom Soup on a weekend trip to Madrid. She had to plead her case to get it past airport security! We thanked her dedication and bravery by eating the entire casserole.


Turkey is not a common meat in Spain. In this country, ham is king. We special ordered an 8 kilo turkey (17.5 lbs) a week before our Thanksgiving feast. It did not come frozen like the butterball turkeys stocked eye high in Walmarts back home. The man at the deli sold us a fresh turkey, so fresh we had to remove a few feathers ourselves, with no giblets already removed. That presented a major gravy-making problem, but I'll get to that later.


The turkey brined in our tiny fridge overnight. Everything in my European kitchen is one size too small, including the roasting pan for the turkey! In order to prevent the bag from ripping on the turkey's feet (yes they left those on!) while it soaked in the savory herbs and spices, we double bagged the turkey, set it in a stock pot, set that stock pot in the roasting pan, and propped the bird up with Diet Coke and beer cans. That is the epitome turkey brining ingenuity!

Brown Sugar Thyme Turkey Brine

recipe adapted from epicurious.com

Ingredients:

8 quarts water
2 cups kosher salt
1 cup brown sugar
2 Tbsp black pepper
2 tsp dried thyme OR 2 bunches fresh thyme
8 garlic cloves, smashed
rind from 1 orange, peeled in large strips
rind from 1 lemon, peeled in large strips 

Directions:

In a large stockpot, combine water, salt, brown sugar, and pepper and stir until salt is dissolved. Add thyme, garlic, orange rind, and lemon rind and stir. Line a large roasting pan or stock pot with a plastic garbage bag. Rinse the thawed turkey and place in the plastic bag. Pour the brine over the turkey and tie off the plastic bag so the turkey is completely submerged in the brine. Refrigerate in the stock pot or roasting pan for 12-18 hours.


The next day, we prepared our brined turkey for roasting. At home, our turkey is set on a rack in a roasting pan to allow the drippings to collect in the bottom of the pan during roasting. Those drippings are later transformed into creamy, rich gravy. To compensate for the lack of roasting pan with a rack, the turkey roasted atop a bed of aromatics (chopped onions, carrots, celery, and apples) and was stuffed with onion, garlic, and the flesh from the lemons and oranges used in the brine. Before the bird went into the oven, I rubbed the skin with a compound butter made from room temperature butter, salt, pepper, and thyme.


As you can see, the bird took up the entire oven! I tented it with foil to prevent burning on the top and to facilitate auto-basting, similar to using a roasting bag which were nowhere to be found in the supermercado. We left the bird alone for 2 hours and 45 minutes. During this time, our power turned off twice because of the oven induced overexertion!


Nearly three hours into the turkeys roasting, I removed the tin foil and prepared a glaze. I glazed the bird three times in 15 minute intervals, rotating the pan after each coat to facilitate even browning. Finally, with the help of my stronger male roommate, the turkey was removed from the oven (it weighed a ton!), tented with foil, and left to rest for 30 minutes. It's very important to let meat rest after roasting or grilling. The resting time allows the meat the soak in the juices released during cooking. If you cut into hot steak or poultry right after it's cooked, all the juices will escape from the meat, leaving it dry and flavorless.

Brown Sugar Mustard Glaze

recipe by Martha Stewart

Ingredients:

1/2 cup brown sugar, packed
1/4 cup dijon mustard

Directions:

In a small bowl, whisk together brown sugar and mustard. Beginning 45 minutes-1 hour before the turkey is finished roasting, glaze the turkey with the brown sugar mustard mixture every 15 minutes, tenting with foil if browning too quickly.

Once the turkey had rested, we started the gravy. It took 2 people to tilt the roasting pan while 1 person held a saucepan underneath the collect the drippings! (Everything about this Thanksgiving was unorthodox!) I made a quick gravy by blending together some onion and apple slices from the roasting pan and the turkey drippings. I transferred that mixture to a saucepan, added a few tablespoons of flour, and whisked while the mixture came to a boil. Finally I added salt and pepper to taste. The gravy was slightly sweet and every one loved it!  


This was our spread! We had all the classics, turkey, mashed potatoes, gravy, cranberry sauce, two kinds of stuffing, creamed corn, green bean casserole, macaroni & cheese, and our friend from Argentina brought ham and cheese empanadas!


I loaded my plate with comfort food and joined my new friends in celebrating a tradition from our home. It was definitely a Thanksgiving to remember! We brought Thanksgiving to Spain with a fabulous dinner and decadent desserts....


Silky Smooth Pumpkin Pie


and Walnut Crumble Apple Pie!