School birthdays were always something I looked forward to as a kid. Each year I would assume the role of Birthday Queen For the Day, taking homemade cupcakes to my class, bestowing these mom-made culinary jewels upon my loving classmate subjects. Perhaps I took myself a
little too seriously! Over the years, my mom has made countless batches of ice cream cone cupcakes topped with Betty Crocker Rainbow Chip frosting. Although she is perfectly capable of whipping up fabulous frostings from scratch, often making up the recipe as she goes, I would
beg her to buy this frosting. There's nothing like it. To this day, it is my kryptonite and nothing, NOTHING, can stop me from eating it straight out of the container by the spoonful. For this reason, not my prepackaged food snobbery, I do not buy this frosting more than once a year. I like to fit comfortably into my jeans...
I have a few precious months remaining in my English teaching position in Spain. I teach at a very small elementary school, so when a child has a birthday, the whole school celebrates! The kids bring cakes, soda, chips, cookies, and candy to share with their classmates, the other students, and, luckily for me, the entire teaching staff. Last week, I walked into the teachers lounge to find a "birthday cake" sitting on the table. I use the quotation marks here because birthday cakes in Spain are nothing like the ones I grew up with in the states. Cakes here resemble pound cakes, are only slightly sweet, and are served sans frosting. A teacher told me this particular cake was a cheesecake. He went so far as to say it was a "New York" cheesecake. Well, it wasn't. Not even close. It was a New York cheesecake if you were to add gelatin and remove half the sugar and cream cheese. All this "cheesecake" did was make me miss cheesecake!

Where does one indulge a cheesecake craving in Spain? Nowhere. There
is a tapas bar in my town that serves a cheesecake flan. It's tangy and smooth like a cheesecake, but the first bite reveals a pool of deeply sweet caramel syrup typical of a flan. It really is the best of both worlds! However, my craving was so acute, even this delicacy wouldn't satisfy. If I wanted a cheesecake, I'd have to provide for myself. After a quick trip to the store and a raid of a better stocked kitchen than mine for a 9x13 pan, I was ready to whip up a quick and easy ode to the classic American cheesecake. No stand mixer, springform pan, water bath, or hour-long cooking time needed!
I made these cheesecake bars for the first time for a catering event a few years ago. I needed a dessert that could feed a lot of people and could be made ahead of time. I ended up baking several sheet pans of these bars and refrigerating them overnight. They were a hit at the party; easy to slice and, when cut into little squares, easy to eat. Since then, I've baked smaller batches for potlucks or for my own personal enjoyment. Sometimes I share...
**Note: Allow your cream cheese and eggs to come to room temperature before starting the bars**
Preheat your oven to 350 degrees Fahrenheit. Spray a 9x13 inch pan with cooking spray.
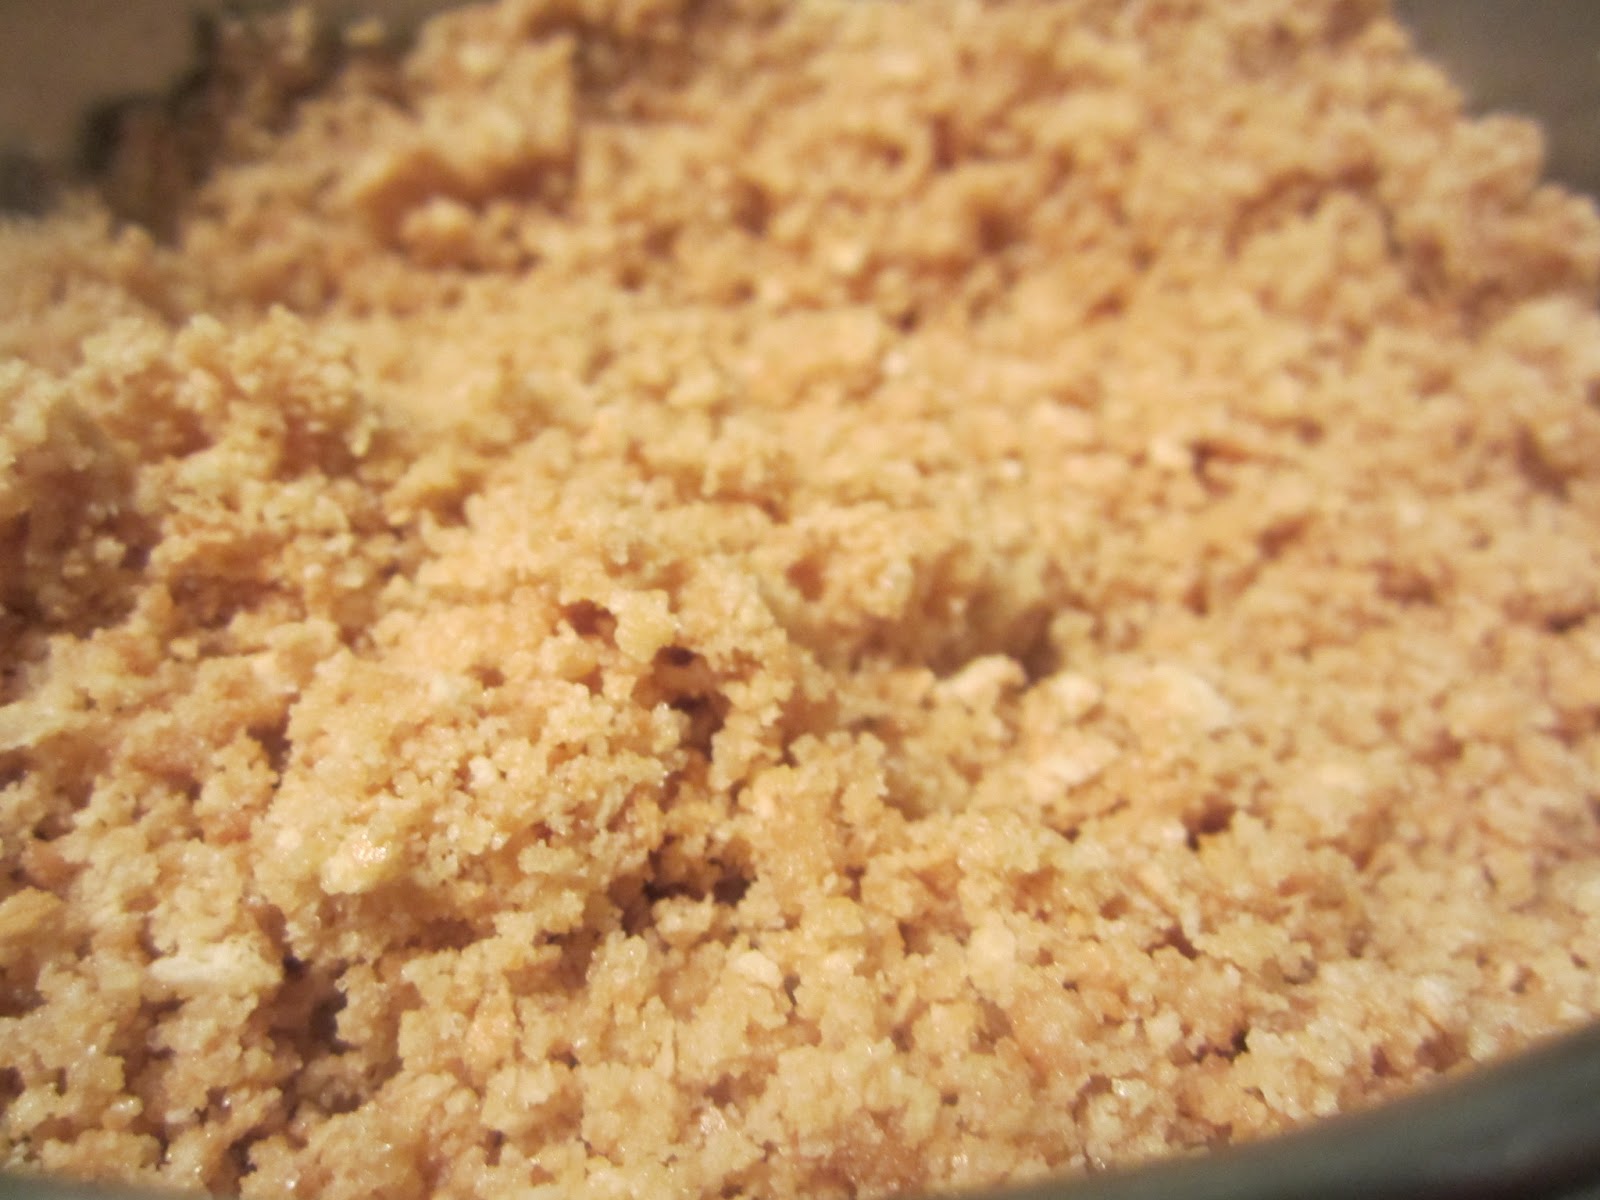
If you want to have perfectly cut cheesecake squares, prepare the baking pan as shown by my tutorial here. In a medium mixing bowl combine the graham cracker crumbs, sugar, and salt. Pour in the melted butter and stir to moisten the crumbs. Press into the bottom and 1 inch up the sides of your prepared baking pan and bake for 10 minutes, until the crumbs are lightly browned. Set aside to cool while you prepare the filling.
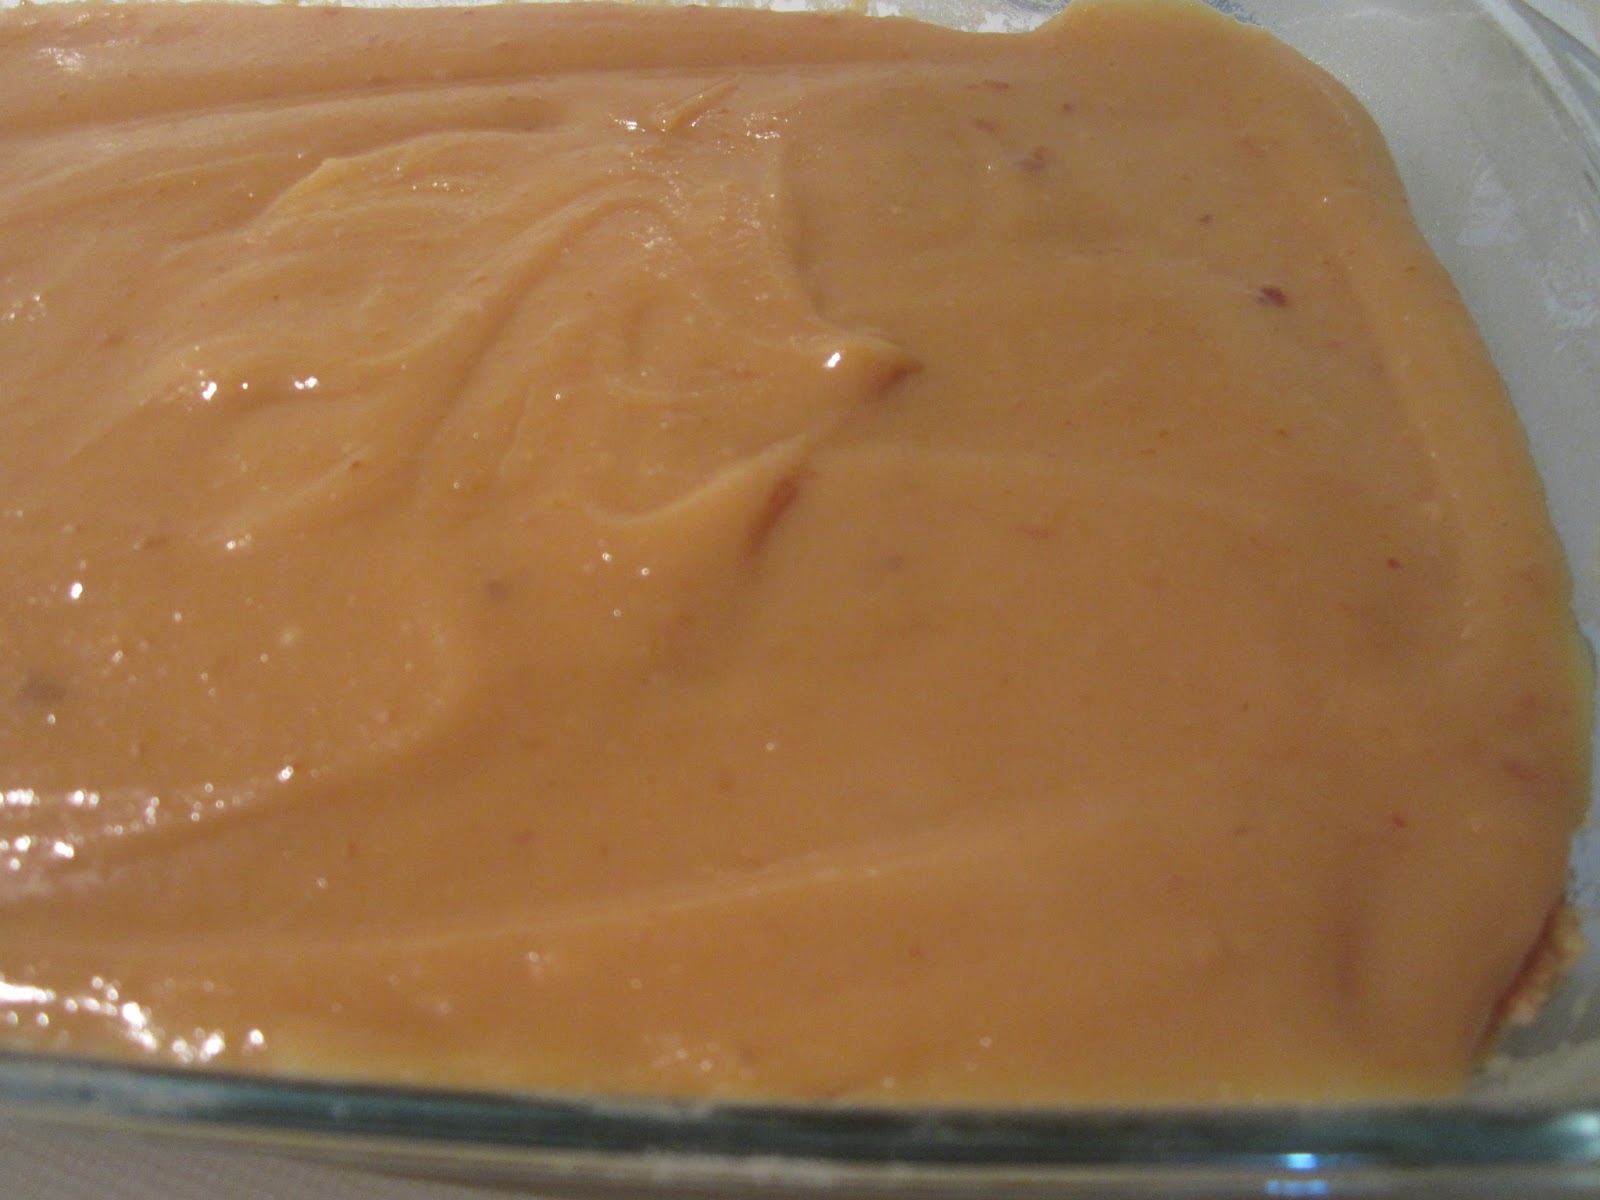
Increase the oven temperature to 350 degrees Fahrenheit. In a medium mixing bowl, whisk the cream cheese until smooth. Add the sugar, salt, lemon juice, lemon zest, and vanilla and whisk to combine. Add the eggs one at a time, scraping down the bowl after each addition. Pour the batter over the cooled graham cracker crust.
Bake for 18-20 minutes or until the cheesecake is just set. If you're unsure, insert a knife into the center of the cheesecake. It should come out clean. Allow to cool completely at room temperature, then cover and refrigerate for 2 hours or overnight. This will allow the cheesecake to set completely and facilitate easy cutting.
Just before serving, remove the cheesecake from the fridge and, if using the parchment paper and tin foil preparation method
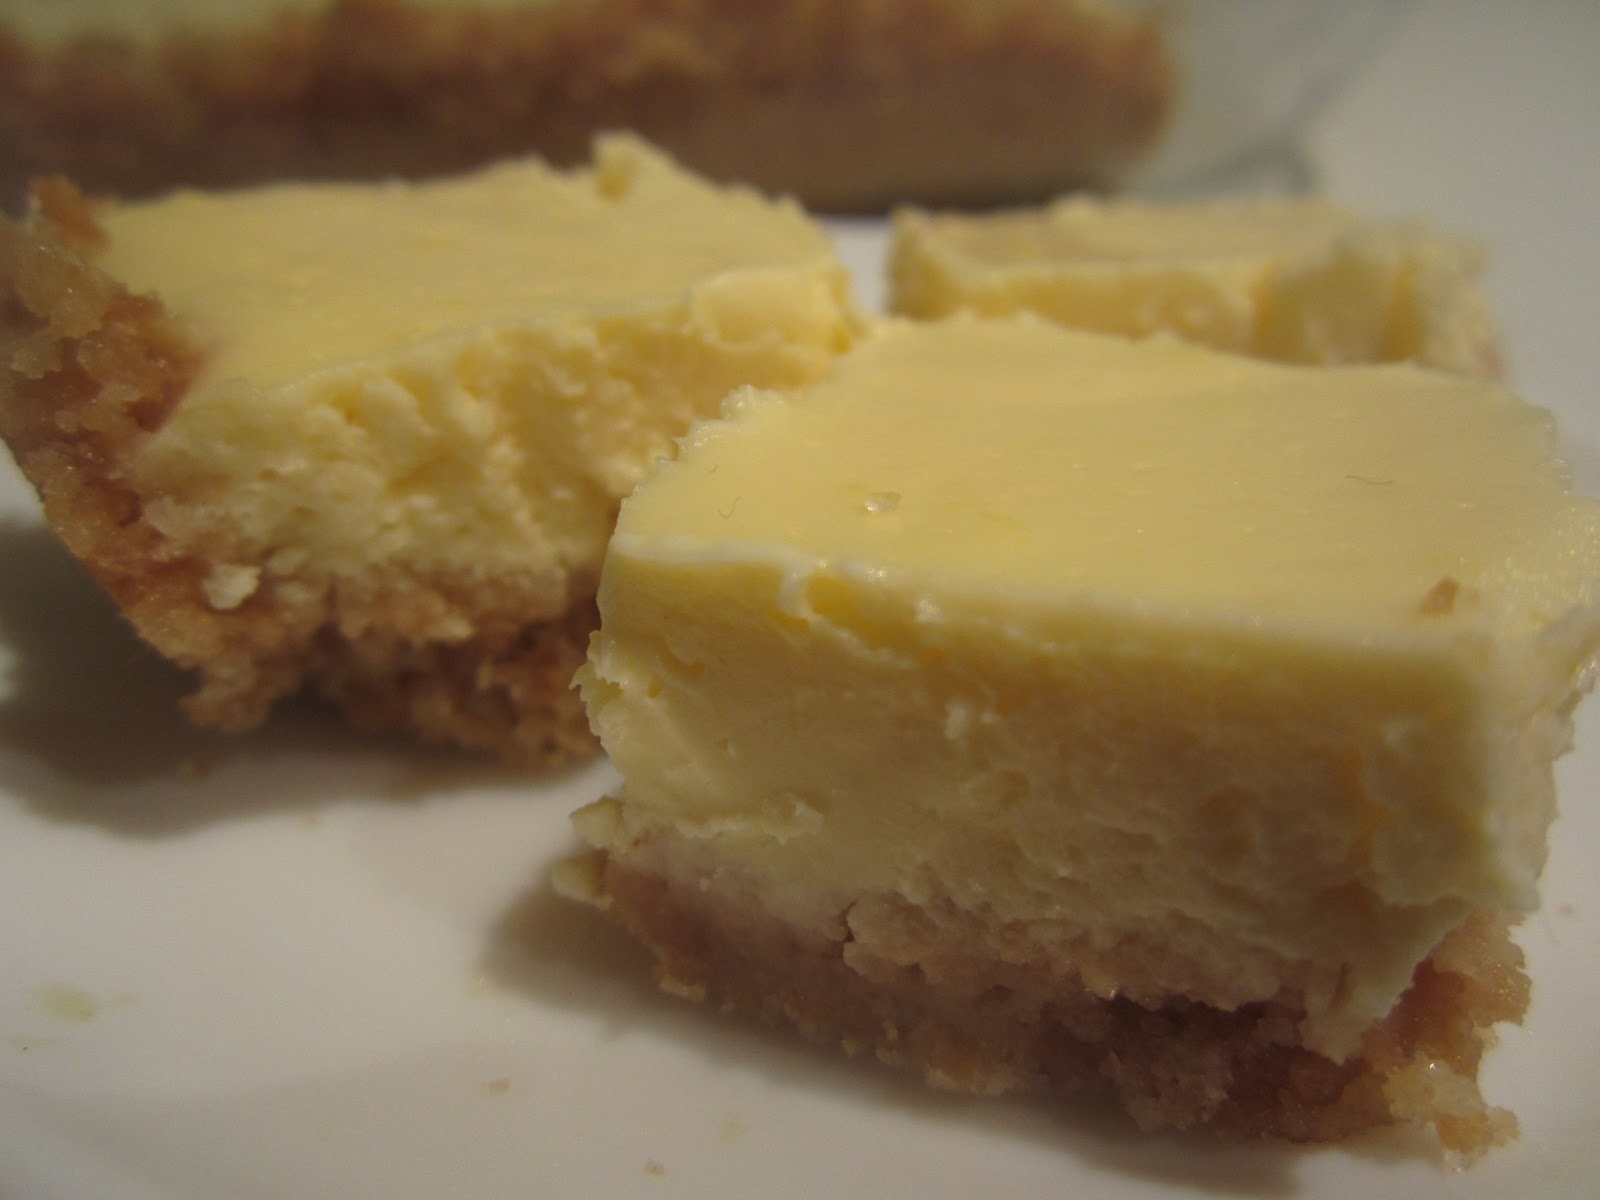
here, lift the chilled cheesecake from the pan. Cut into squares, wiping the knife clean after each cut. Enjoy your little taste of the classic American cheesecake!
Cheesecake Bars
recipe adapted from joyofbaking,com
Ingredients:
Crust:
2 cups graham cracker crumbs, about 13 crackers
2 Tbsp granulated sugar
1/4 tsp salt
1/2 cup unsalted butter, melted
Filling:
2 8oz packages cream cheese, room temperature
1/2 cup granulated sugar
1/4 tsp salt
1 Tbsp lemon juice
1 lemon, zested
1 tsp vanilla
2 eggs, room temperature
Directions:
Preheat your oven to 325 degrees Fahrenheit. Spray a 9x13 in baking dish with cooking spray or line with parchment paper as shown
here.
In a medium mixing bowl, combine the graham cracker crumbs, sugar, and salt. Pour in the melted butter, stirring to moisten the crumbs. Press the crumb mixture on the bottom and 1 inch up the sides of the prepared baking dish. Bake in the preheated oven for 10 minutes, until the crust is lightly browned. Set aside to cool.
Increase the oven temperature to 350 degrees Fahrenheit. In a medium mixing bowl, whisk the cream cheese until smooth. Add the sugar, salt, lemon juice, lemon zest, and vanilla and whisk to combine. Add the eggs, one at a time, scraping down the bowl after each addition, Pour the cheesecake filling over the cooled crust. Bake for 18-20 minutes, until the cheesecake is just set, wobbling slightly when touched.
Allow to cool completely at room temperature, cover, and refrigerate for at least two hours or overnight. Cut into bars just before serving, wiping the knife clean after each slice. Top with berries, chocolate syrup, or whipped cream.