Showing posts with label party food. Show all posts

Sunday, February 24, 2013

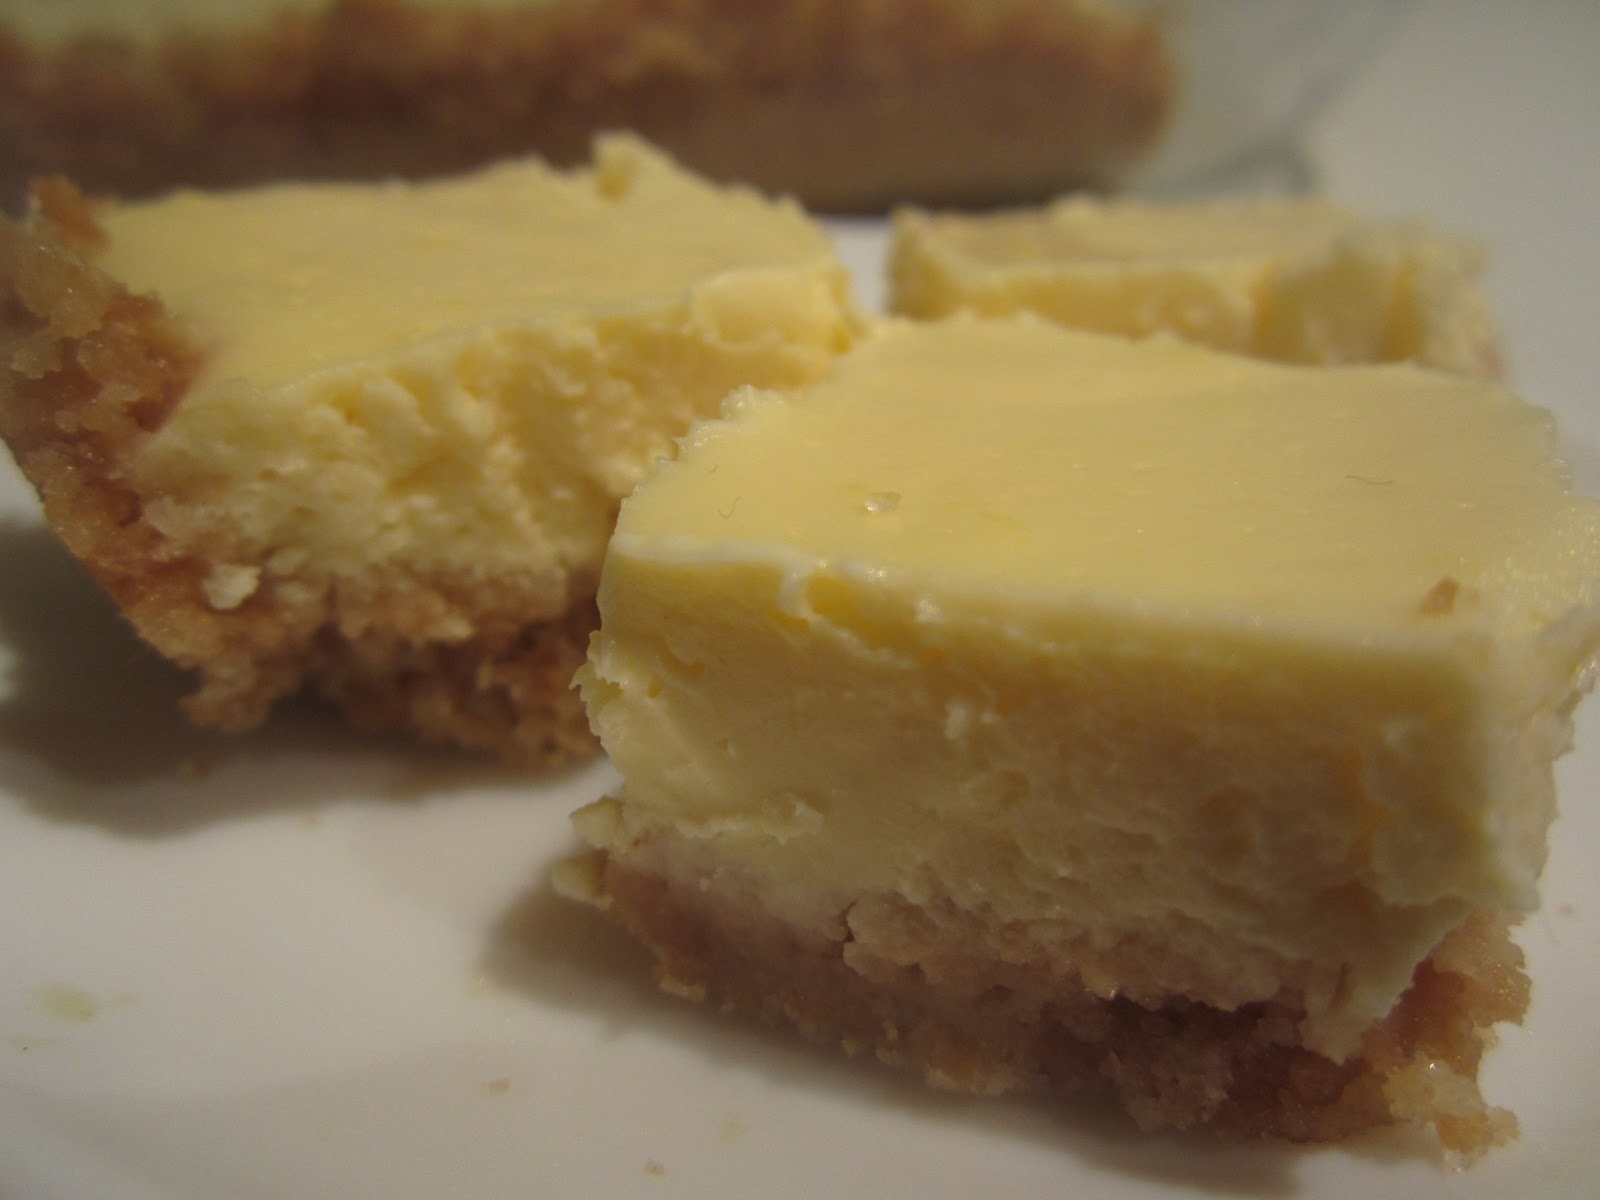
Cheesecake Bars

School birthdays were always something I looked forward to as a kid. Each year I would assume the role of Birthday Queen For the Day, taking homemade cupcakes to my class, bestowing these mom-made culinary jewels upon my loving classmate subjects. Perhaps I took myself a little too seriously! Over the years, my mom has made countless batches of ice cream cone cupcakes topped with Betty Crocker Rainbow Chip frosting. Although she is perfectly capable of whipping up fabulous frostings from scratch, often making up the recipe as she goes, I would beg her to buy this frosting. There's nothing like it. To this day, it is my kryptonite and nothing, NOTHING, can stop me from eating it straight out of the container by the spoonful. For this reason, not my prepackaged food snobbery, I do not buy this frosting more than once a year. I like to fit comfortably into my jeans...

I have a few precious months remaining in my English teaching position in Spain. I teach at a very small elementary school, so when a child has a birthday, the whole school celebrates! The kids bring cakes, soda, chips, cookies, and candy to share with their classmates, the other students, and, luckily for me, the entire teaching staff. Last week, I walked into the teachers lounge to find a "birthday cake" sitting on the table. I use the quotation marks here because birthday cakes in Spain are nothing like the ones I grew up with in the states. Cakes here resemble pound cakes, are only slightly sweet, and are served sans frosting. A teacher told me this particular cake was a cheesecake. He went so far as to say it was a "New York" cheesecake. Well, it wasn't. Not even close. It was a New York cheesecake if you were to add gelatin and remove half the sugar and cream cheese. All this "cheesecake" did was make me miss cheesecake!


Where does one indulge a cheesecake craving in Spain? Nowhere. There is a tapas bar in my town that serves a cheesecake flan. It's tangy and smooth like a cheesecake, but the first bite reveals a pool of deeply sweet caramel syrup typical of a flan. It really is the best of both worlds! However, my craving was so acute, even this delicacy wouldn't satisfy. If I wanted a cheesecake, I'd have to provide for myself. After a quick trip to the store and a raid of a better stocked kitchen than mine for a 9x13 pan, I was ready to whip up a quick and easy ode to the classic American cheesecake. No stand mixer, springform pan, water bath, or hour-long cooking time needed!

I made these cheesecake bars for the first time for a catering event a few years ago. I needed a dessert that could feed a lot of people and could be made ahead of time. I ended up baking several sheet pans of these bars and refrigerating them overnight. They were a hit at the party; easy to slice and, when cut into little squares, easy to eat. Since then, I've baked smaller batches for potlucks or for my own personal enjoyment. Sometimes I share... 

**Note: Allow your cream cheese and eggs to come to room temperature before starting the bars**
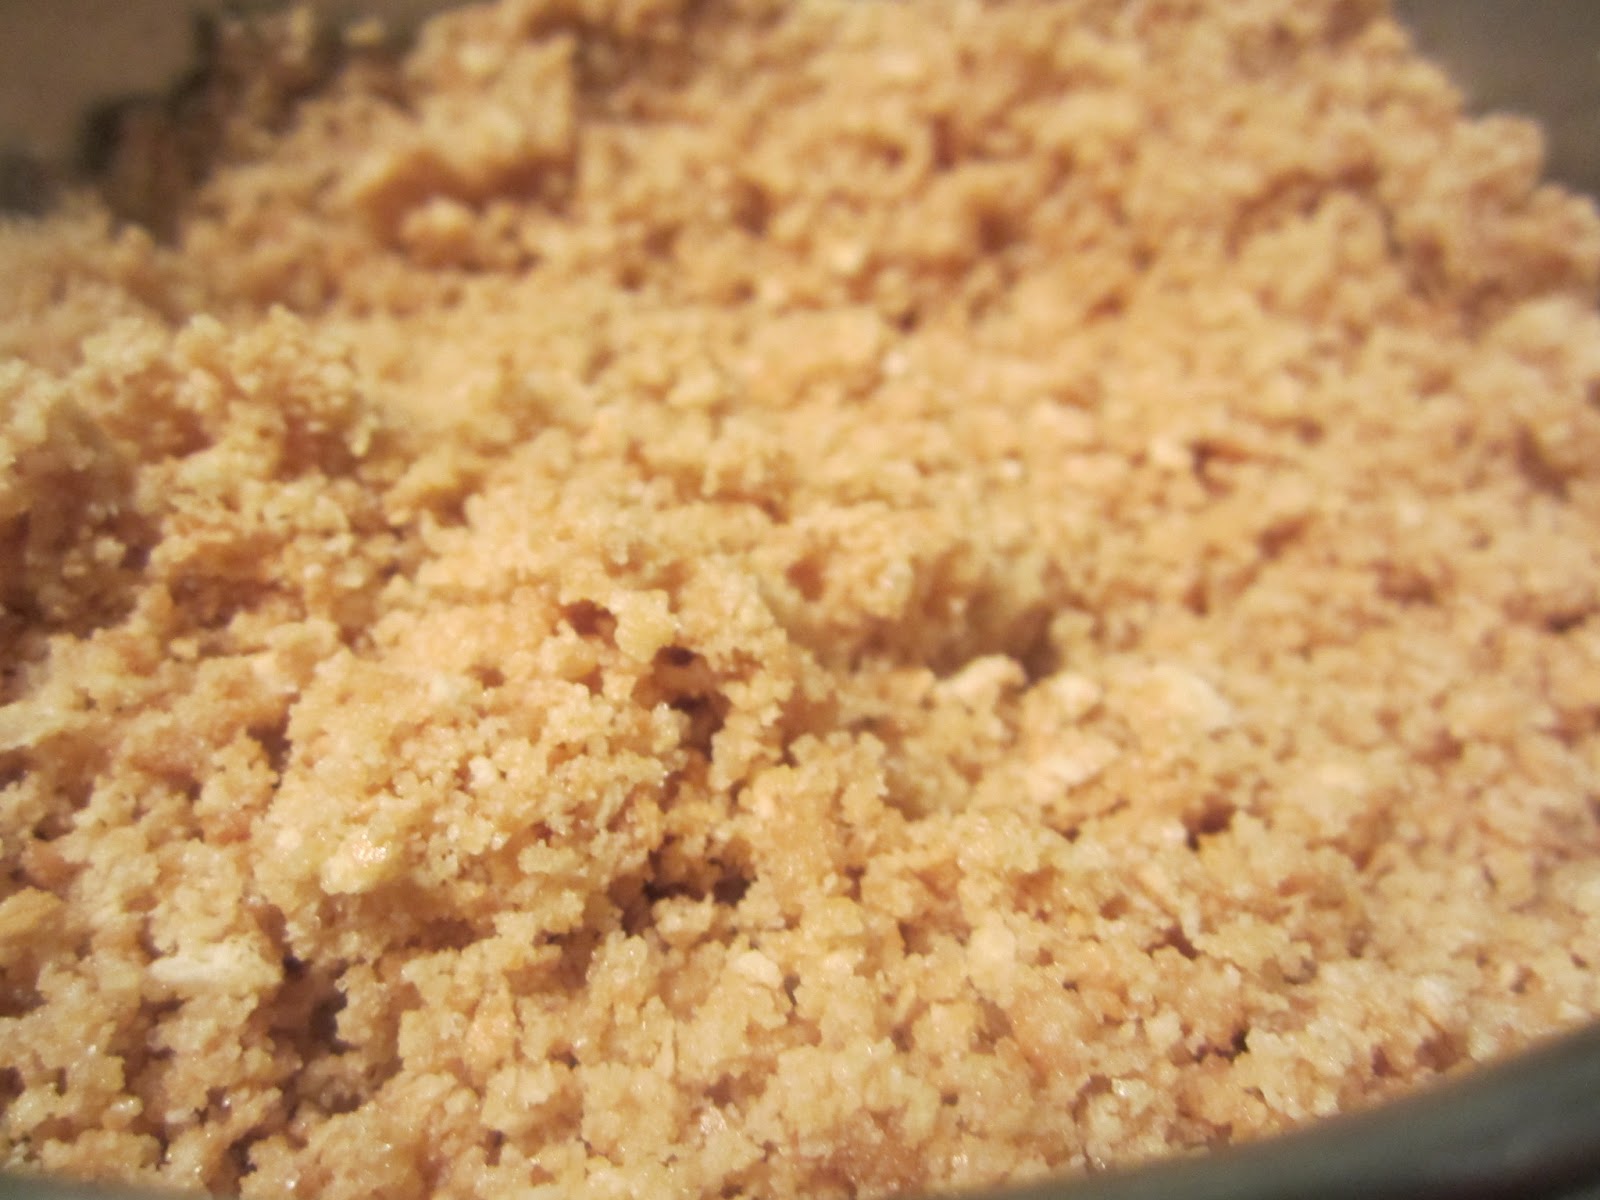

Preheat your oven to 350 degrees Fahrenheit. Spray a 9x13 inch pan with cooking spray. If you want to have perfectly cut cheesecake squares, prepare the baking pan as shown by my tutorial here. In a medium mixing bowl combine the graham cracker crumbs, sugar, and salt. Pour in the melted butter and stir to moisten the crumbs. Press into the bottom and 1 inch up the sides of your prepared baking pan and bake for 10 minutes, until the crumbs are lightly browned. Set aside to cool while you prepare the filling.


Increase the oven temperature to 350 degrees Fahrenheit. In a medium mixing bowl, whisk the cream cheese until smooth. Add the sugar, salt, lemon juice, lemon zest, and vanilla and whisk to combine. Add the eggs one at a time, scraping down the bowl after each addition. Pour the batter over the cooled graham cracker crust.


Bake for 18-20 minutes or until the cheesecake is just set. If you're unsure, insert a knife into the center of the cheesecake. It should come out clean. Allow to cool completely at room temperature, then cover and refrigerate for 2 hours or overnight. This will allow the cheesecake to set completely and facilitate easy cutting.


Just before serving, remove the cheesecake from the fridge and, if using the parchment paper and tin foil preparation method here, lift the chilled cheesecake from the pan. Cut into squares, wiping the knife clean after each cut. Enjoy your little taste of the classic American cheesecake!

Cheesecake Bars

recipe adapted from joyofbaking,com

Ingredients: 

Crust:
2 cups graham cracker crumbs, about 13 crackers
2 Tbsp granulated sugar
1/4 tsp salt
1/2 cup unsalted butter, melted 

Filling:
2 8oz packages cream cheese, room temperature
1/2 cup granulated sugar
1/4 tsp salt
1 Tbsp lemon juice
1 lemon, zested
1 tsp vanilla
2 eggs, room temperature

Directions:

Preheat your oven to 325 degrees Fahrenheit. Spray a 9x13 in baking dish with cooking spray or line with parchment paper as shown here

In a medium mixing bowl, combine the graham cracker crumbs, sugar, and salt. Pour in the melted butter, stirring to moisten the crumbs. Press the crumb mixture on the bottom and 1 inch up the sides of the prepared baking dish. Bake in the preheated oven for 10 minutes, until the crust is lightly browned. Set aside to cool.

Increase the oven temperature to 350 degrees Fahrenheit. In a medium mixing bowl, whisk the cream cheese until smooth. Add the sugar, salt, lemon juice, lemon zest, and vanilla and whisk to combine. Add the eggs, one at a time, scraping down the bowl after each addition, Pour the cheesecake filling over the cooled crust. Bake for 18-20 minutes, until the cheesecake is just set, wobbling slightly when touched.

Allow to cool completely at room temperature, cover, and refrigerate for at least two hours or overnight. Cut into bars just before serving, wiping the knife clean after each slice. Top with berries, chocolate syrup, or whipped cream.

Thursday, November 22, 2012

Nutella Bites

Is there anything better than Nutella? Seriously. I used to think the most divine spreadable food was peanut butter, and while it still holds a very special place in my heart, it was knocked off it's ooey gooey pedestal once I discovered this chocolate, hazelnut counterpart. I love Nutella. I eat it on graham crackers, bananas, over my ice cream....sometimes straight out of the container....don't say you never have!

However, when I'm in the company of other people (hence, it is not appropriate to take my Nutella straight up) I find a more civilized, and very cute, way to eat this chocolatey spread is sealed in pastry. When you combine Nutella and pastry dough, something magical happens. Words won't do it justice, but I'll try. The buttery dough bakes to flaky perfection on the outside while Nutella melts ever so slightly inside the pastry pocket. The end result, buttery pastry with a smooth, gooey chocolate, hazelnut center. This is the perfect way to get your chocolate fix!

This recipe is extremely versatile. I love using equal parts butter and cream cheese in my dough, but you may use your favorite pie dough recipe or store bought pie dough. You can also substitute the Nutella for another filling, like peanut butter, but I've found the peanut butter tends to dry out a little during baking if it's of the crunchy variety. Experiment. Find a filling/dough combination you love! This recipe as I've written it here yields 2 dozen Nutella Bites.


Preheat your oven to 375 degrees F. Line a baking sheet with parchment paper or a silpat.  


Make sure your unsalted butter and cream cheese are at room temperature. In a stand mixer with a paddle attachment, beat butter and cream cheese until smooth.


In a separate bowl, whisk flour and salt together. Add to butter, cream cheese mixture with the mixer on low speed. Mix until just combined.


With a rubber spatula, scrape the sides and bottom of the bowl to make sure the dry ingredients are fully incorporated.  


Turn the dough out onto a sheet of plastic wrap and flatten into a disk. Cover with the plastic wrap and chill for at least 30 minutes. 


On a lightly floured surface, roll dough out to 1/8" thickness (think of the height of 2 quarters stacked on top of one another). Using a round biscuit cutter, cut as many rounds as you can from the dough, gathering and re-rolling the scraps to cut more.


Assemble the bites in batches. Keep the pastry rounds you're not filling in the fridge. It's important not to allow the butter in the dough to warm to room temperature. This will result in a less flaky dough. If you're not up to baking all the bites in one go, you can store the extra dough, stacked with a little plastic wrap between each layer, in a ziploc bag in your freezer for up to 1 month. 


To assemble the bites, scoop a tiny spoonful (1/2 tsp) of Nutella onto each round. Do not overfill or the Nutella will squeeze out of the sides when you fold the pastry dough in half. Dip your index finger in water and wet the edges of the pastry round. 


Fold pastry round in half, pressing gently with fingers to seal edges together. Using a fork, seal the edges completely. If making the Nutella bites ahead, assemble them to this point, then lay them flat on a cookie sheet and freeze for a few hours. Once they are frozen, you can store them all in a ziploc freezer bag for up to 1 month. When ready to serve, follow the regular baking instructions. 


Place the Nutella bites onto your silpat or parchment lined baking sheet and bake in your preheated oven until the bites are golden brown, 15-18 minutes.

Allow to cool slightly, but not all the way as these are the very best when warm. When ready to serve, dust with powdered sugar.

Nutella Bites 

recipe adapted from foodnetwork.com 

Ingredients: 

1 stick unsalted butter, room temperature
4 oz cream or neufchatel cheese, room temperature
1 cup flour
1/2 tsp. kosher salt
4 Tbsp Nutella, creamy peanut butter, jam, etc
powdered sugar for dusting 

Directions: 

Preheat oven to 375 degrees F. Line a baking sheet with parchment or a silpat.

In a stand mixer with paddle attachment, beat together cream cheese and butter until smooth. In a separate bowl, whisk flour and salt together. With the mixer on low speed, slowly add the dry ingredients to butter, cream cheese mixture until just incorporated. Scrape down sides and bottom of mixing bowl with a rubber spatula. 

Turn dough onto a piece of plastic wrap, flatten into a disc 1 inch thick, and wrap completely in plastic wrap. Chill for at least 30 minutes.

On a lightly floured surface, roll the pastry dough out to 1/8 inch thick. Using a round biscuit cutter, cut rounds out of the rolled dough, gathering and re-rolling the scraps to make more rounds. 

When assembling the bites, work in batches, keeping the extra pastry dough rounds cold in the fridge. Place 1/2 tsp Nutella on each round. Dip your index finger in some water and wet the edges of the pastry dough round. Fold the dough in half, lightly pinching the edges together to seal. Use a fork to seal the edges of the pastry dough completely.

Bake bites on the prepared baking sheet for 15-18 minutes until golden brown. Let cool slightly, then dust with powdered sugar.

Sunshine Cupcakes

A few summers ago, I vacationed in upstate New York at the Finger Lakes at my friend's lake house. I know right?! Before you get too jealous of my wonderful connections, I'll tell you that it rained 75% of the time I was there, ruining my plans to sunbathe and water ski to my heart's content. (I have fair skin and can not tan and I've never water skiied a day in my life, but when imagining a summer on a lake one fantasizes of these things.)
One day my friend's neighbor kindly brought us treats. She had baked a "sunshine cake" and I laughed at the irony of it. Also, the fact that the cake was chilled made it seem even less sunny to me. However, with the first bite of my slice, all my cynicism was obliterated by the fresh citrus punch of the cake. The mandarin oranges lend a sweet moisture to the cake while the smooth cream cheese mixed with tangy pineapple compliment the cake to create a citrus "sunny" flavor.


Preheat oven to 350 degrees Fahrenheit. Line 24 cupcake tins with paper liners. In your stand mixer with the paddle attachment, mix cake mix, eggs, canola oil, and mandarin oranges on low speed until completely combined, then continue to mix on high until fluffy (2-3 minutes)
 

Fill cupcake liners 2/3 of the way full and bake for 20-25 minutes until they look like this


Golden brown. Let rest in pan for 5 minutes then transfer to rack to cool completely.


Beat cream cheese and butter in stand mixer with paddle attachment until fluffy. Add vanilla, sugar, drained pineapple, and Jello mix and beat until fluffy...er. Add yellow food coloring, if you want your frosting to be extra sunny. I didn't, but next time I will! 


 Frost your cooled cupcakes or eat the frosting with a spoon....I won't judge


I wish my camera could pick up the moisture content of these cupcakes. Garnish with candied lemon peel, orange peel, colored sugar, etc if desired. Stick them in the fridge. Room temp, these cupcakes are pretty good, but cold and rested they are AMAZING! So try to be patient.

Sunshine Cupcakes:

recipe by Sweet & Savory

Ingredients: 
 
Cupcakes:
 
1 box yellow cake mix
4 eggs
1/4 cups canola oil
1 can (11 oz) mandarin oranges, undrained and crushed

Pineapple Cream Cheese Frosting:

8 oz cream cheese, room temperature
1 cups (2 sticks) salted butter
1 tsp. vanilla extract
1 can (20 oz) crushed pineapple, drained
1 cups powdered sugar
1 box Jello cheesecake mix
yellow food coloring, if desired

Directions:

Preheat oven to 350 degrees Fahrenheit. Line 24 cupcake tins with cupcake liners. In stand mixer with paddle attachment, beat cake mix, eggs, and vegetable oil until combined. Scrape the sides of the bowl with rubber spatula. Add crushed mandarin oranges with juice and beat for 3 more minutes.

Fill each cupcake liner 2/3 of the way full with batter. Bake 20-25 minutes until golden brown. Let rest in pan for 5 minutes, then remove to wire rack to cool completely.

While the cupcakes are cooling, make the frosting. In a stand mixer with paddle attachment, cream butter and cream cheese until fluffy. Add vanilla, pineapple, powdered sugar, and Jello mix and beat until combined. Stir in a few drops of yellow food coloring, if desired.

Have at it! Frost your cupcakes and refrigerate for at least 1 hour to overnight before serving.

White Chocolate Cranberry Bars

During this holiday season, I needed a high yield dessert recipe for a Christmas potluck. I'd had my fill of pumpkin pie and all things chocolate, so I choose to bake my take on Starbuck's seasonal Cranberry Bliss Bars. These fly off the shelves at the coffee shop each year and mine were a huge hit at my potluck. The distinct flavors and textures of the sweet, crunchy, red cranberries, tangy orange zest, and fragrant yellow crystallized ginger are all tied together by the creamy white chocolate in this fall brownie-like dessert.

Note: buy your crystallized, or candied ginger at an Asian market. At Smith's 2 ounces costs $10.99. I got mine for $3.99 for 10 oz at my nearby Asian market. Do not panic if you can't use it immediately. When stored in an air tight container, crystallized ginger has a 2 year shelf life.


Preheat the oven to 350 degrees Fahrenheit and spray a 9x13" baking pan with cooking spray. I like Baker's Joy because it takes care of the buttering AND the flouring of your dish for you!


Cream your butter and brown sugar together until light and fluffy 2-3 minutes. Add eggs one at a time, scraping the sides of the bowl after each addition.


Add vanilla and minced crystallized ginger. Mix to combine. Combine dry ingredients in a separate bowl.


Slowly add in increments the dry ingredients to butter and sugar mixture with the mixer on low speed. Scrape the bowl. Add white chocolate chips and chopped craisins and mix by hand until just combined.


Evenly spread batter into prepared baking dish. Bake 20-25 minutes until the edges look like.....


This! Golden brown. Let cool completely before frosting.


While the bars cool, prepare the frosting. Beat cream cheese and powdered sugar while gradually adding lemon juice, 1 tsp. at a time. Add vanilla extract and orange zest and beat until combined.


The frosting should be thick like this. Set frosting aside while you prepare the white chocolate drizzle.


Place shortening and white chocolate chips in a heat proof bowl over a saucepan filled with 1 inch of simmering water.


This is called a double boiler. (It's a good technique to be familiar with, but if you're short on time, melt the chocolate and shortening in the microwave)


Allow to melt slightly on the double boiler, then whisk until smooth. Pour into a Ziploc bag and set aside.


Time to build! Spread frosting evenly on cooled bars.


Sprinkle with chopped craisins.


Snip one corner of the Ziploc bag with the white chocolate drizzle in it and drizzle over bars in a criss cross pattern. Refrigerate for at least 1 hour. I like to cut mine into triangles. Make 5 vertical slices and 3 horizontal slices. This gives you 24 bars. You can stop here, or do what I do and make a diagonal slice through each bar creating 2 triangles. This gives you 48, three-bite triangle portions.


Aren't the triangles cute? I think so. I also think if you are able to wait a full calendar year between gnoshing on these fall treats you are a superstar. I'll be making these in the spring, summer, and winter as well!


I had to post this. I let my dog sample the batter while I was cleaning up. She approves!

White Chocolate Cranberry Bars 

Recipe adapted from Starbucks Cranberry Bliss Bars by Todd Wilbur

Ingredients:

Bars:
1 1/2 sticks unsalted butter
1 1/4 cups packed brown sugar
3 eggs
1 1/2 tsp. vanilla extract
3 T crystallized ginger, minced
1 1/2 cups flour
1/2 tsp. fine salt
1/2 tsp. baking powder
1 1/4 cups craisins, chopped
3/4 cups white chocolate chips

Frosting:
4 oz. cream cheese at room temperature
3 cups powdered sugar
4 tsp. lemon juice
3 tsp. orange zest
1 tsp. vanilla extract
1/4 cups craisins, chopped

White Chocolate Drizzle:
3/4 cups white chocolate chips
2 tsp. shortening

Directions:

Preheat oven to 350 degrees Fahrenheit. Spray a 9x13" baking dish with cooking spray. In a standing mixer fitted with a paddle attachment, cream butter and sugar until light 2-3 minutes. Add eggs one at a time, scraping the bowl between each addition with a rubber spatula. Add vanilla extract and crystallized ginger and mix to combine.

In a separate bowl whisk flour, baking powder, and salt. With the mixer on low speed, add the flour mixture to the butter and sugar mixture gradually until just combined. Scrape the bowl, incorporating any remaining flour into the batter. Mix white chocolate chips and craisins into batter by hand.

Evenly spread batter into prepared dish. Bake for 20-25 minutes until the edges are lightly golden brown. Let cool completely before frosting.

While bars are cooling, prepare the frosting. In a standing mixer with a paddle attachment, beat cream cheese and powdered sugar, adding lemon juice 1 tsp. at a time to reach thick frosting consistency. Add orange zest and vanilla extract and beat. Set aside.

In a double boiler, prepare the white chocolate drizzle. Melt white chocolate chips and shortening, whisking to combine thoroughly. Pour into Ziploc bag and set aside.

Time to build! Spread on top of cooled bars. Sprinkle the 1/4 cups chopped craisins evenly on top of the frosted bars. Make a small snip in one corner of the ziploc bag with the white chocolate drizzle in it. Drizzle over the bars in a criss cross pattern. Refrigerate bars for at least 1 hour before slicing. (or if you're impatient, pop them into the freezer for 30 minutes to let the frosting set.) Makes 24 bars or 48 triangle slices.

Wednesday, June 20, 2012

Citrus Theme Bridal Shower

Welcome summer and my obsession with all things lemon! Like clockwork, the onset of warm weather and sunny afternoons makes me crave the sharp zing of citrus. This time of year I'll take my lemons as lemonade with a sprig of mint, squeezed over grilled fish or chicken, or baked into something sweet. I was fortunate enough to kick off my sweet and sour summer with a citrus themed bridal shower. Being the fanatical party food enthusiast that I am, I jumped at the challenge of figuring out a menu with citrus in every dish.

Immediately, my brain began to churn out citrus dessert ideas. However, out of respect to those who believe cupcakes and chocolate do not a meal make, I added some savory components. I even went as far as adding a salad to the menu.


Citrus Bridal Shower Menu

ourbestbites.com
  (bottom left) I served these in little plastic cups I bought at a restaurant supply store. Scoop a tablespoon of the dipping sauce into the bottom of the cup and stand the fries up in the sauce. This presentation turns fries and dipping sauce into finger food!  

Strawberry Citrus Spinach Salad
spinach, strawberries, mandarin oranges, candied almonds, poppy seed dressing. Simple!

Mixed Fruit with Citrus Yogurt Sauce
tasteofhome.com 

a bright Paula Deen chicken salad sandwiched into mini croissants

Chocolate Orange Cupcakes
i added orange extract and zest to my favorite chocolate cupcake and cream cheese frosting recipes. Just make sure you add them little by little until you've achieved your desired citrus flavor level.
twopeasandthierpod.com 
the best lemon bar recipe EVER

Izze Sparkling Juice
we used the cans of clementine, lime, and grapefruit flavors. So cute!

True to form, I took too few pictures of the table. Also true to form, I took 2 closeups of my favorite part of every bridal shower....DESSERTS!


Don't those just scream summer? The best part of this menu was how much could be made in advance. The honey lime dipping sauce, chicken salad, and citrus yogurt sauce was made the night before so the flavors had plenty of time to blend and intensify. I baked the lemon bars and the cupcakes the night before, but saved the frosting for the day of the party. Remember, when planning a shower or dinner party, do as much in advance as possible. Your guests want to see YOU at the party as well as enjoy your culinary truimphs!